CRM Messaging for Salesforce
Admin Guide
Installation and Registration
Step 1: Install the Package
- Installation Link: Install CRM Messaging for Salesforce
- User Interface: Works on both Salesforce Classic and Lightning Experience.
- Object Support: Supports all standard and custom Salesforce objects. Enable messaging on all phone-type standard and custom fields.
- Salesforce Clouds: Compatible with all Salesforce clouds like Sales Cloud, Service Cloud, Health Cloud, etc.
- Messaging Types: Supports SMS and WhatsApp messaging.
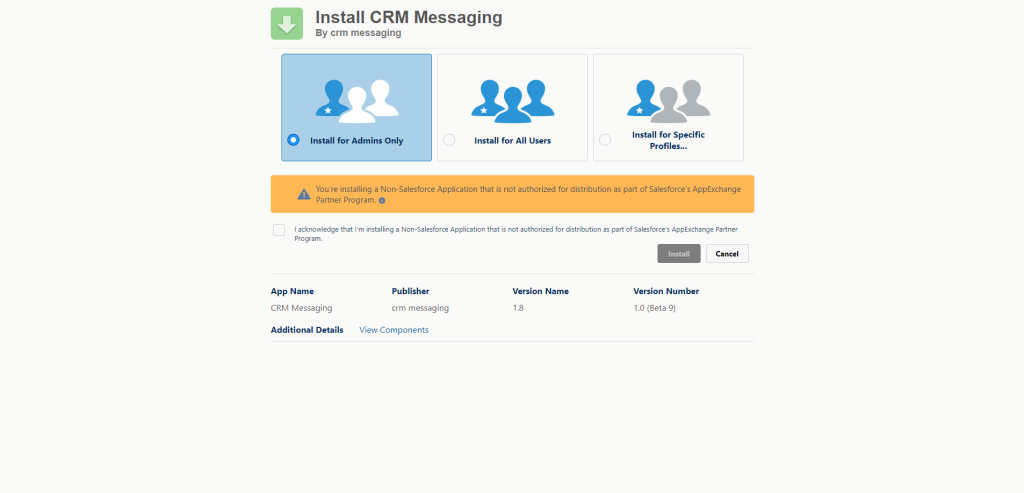
Installation Screen:
Choose to install for admin, all users, or specific profiles. Accept the terms and proceed to install.

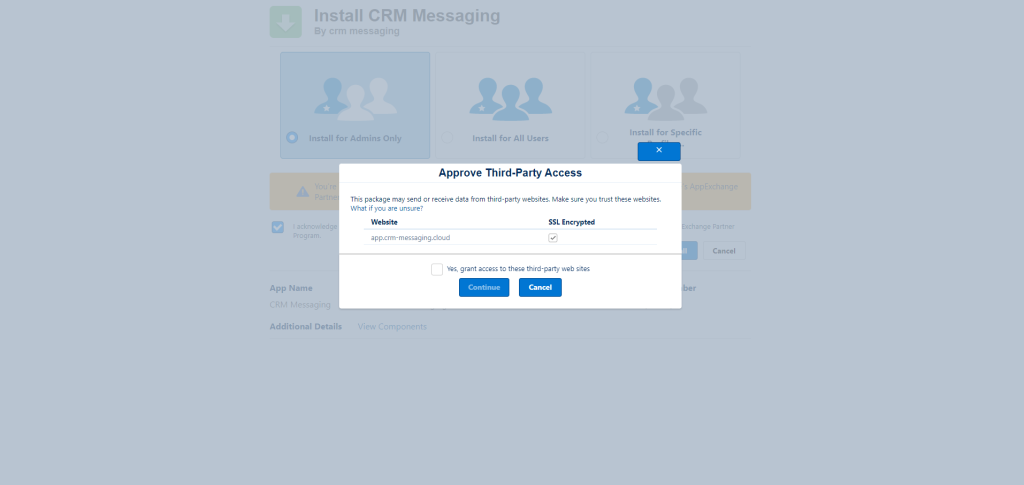
Grant Third-Party Access:
Grant third-party access to the CRM Messaging platform.

Wait for 2-3 minutes for the package to install successfully.
Step 2: Register with the CRM Messaging Platform
- Signup: Register on the CRM Messaging platform here.
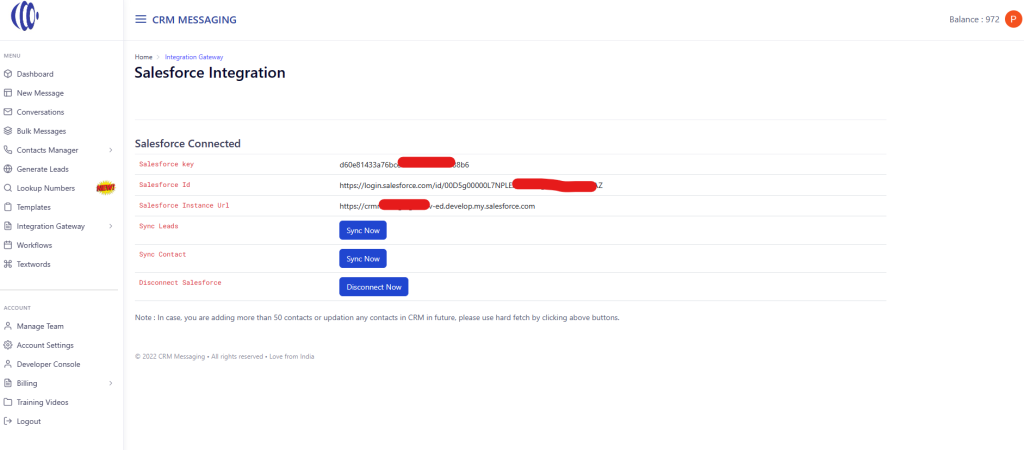
- Connect CRM Messaging with Salesforce Org: After signing up, navigate to
portal-> Integration Gateway -> Salesforce -> Connect your app

Step 3: Update Phone number field (Optional – to be used for messaging, default is Phone field)
- Go to
Setup -> Custom Settings -> CRM Messaging Settings -> Manage - Add the phone field API name where you store phone numbers. By default its Phone field when empty
Button and Component Configuration
We will proceed with button and component configuration in the next section.


